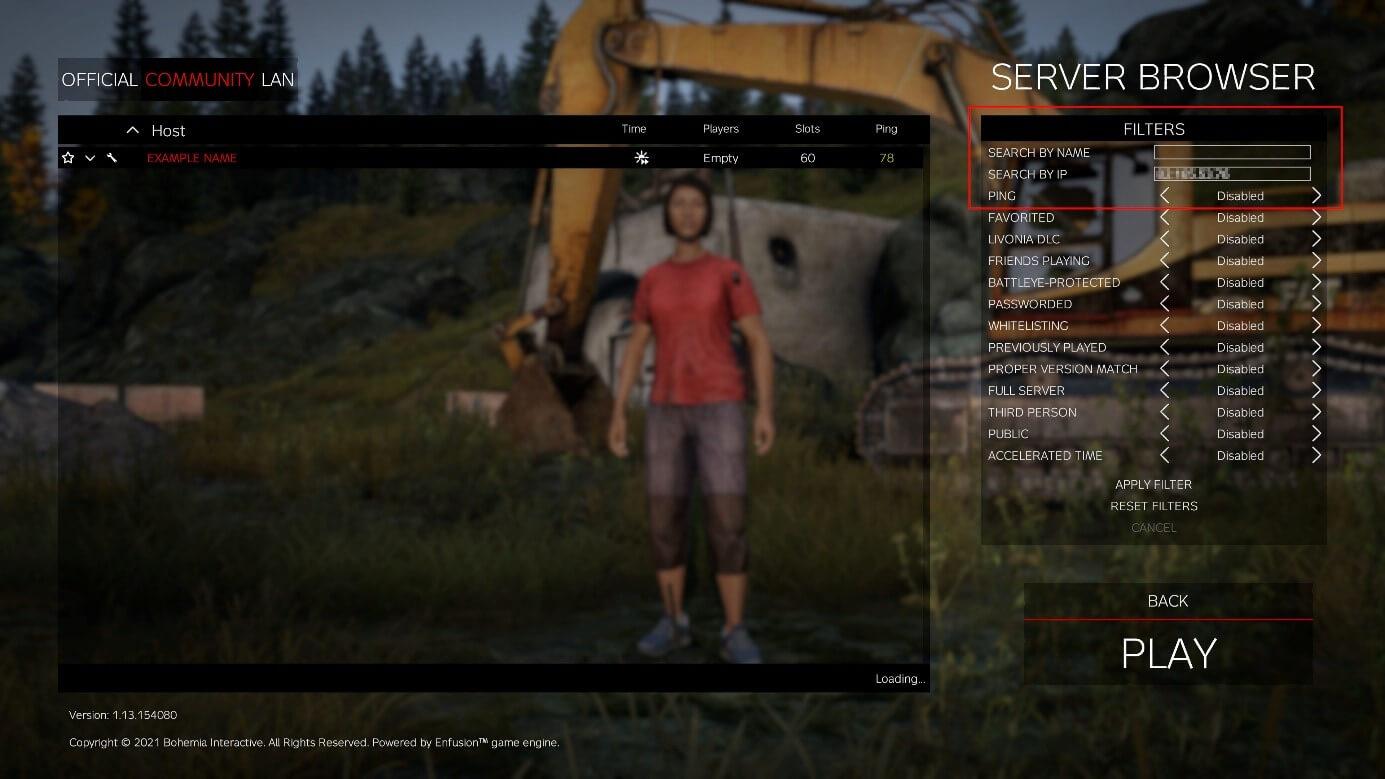
How to Set Up a DayZ Server from Scratch: Complete Step-by-Step Guide
If you’re a dedicated DayZ player looking to create your own multiplayer experience, setting up a DayZ server from scratch is an excellent way to customize gameplay and build a tight-knit community. Whether you want full control over mods, rules, or simply host private sessions with friends, this comprehensive guide will walk you through the process from the ground up.
By the end of this article, you’ll know how to configure, launch, and maintain a DayZ server optimized for performance and player enjoyment. Let’s dive right in!
Why Set Up Your Own DayZ Server?
Hosting your own DayZ server comes with several benefits that enhance your gaming experience:
- Full Customization: Control gameplay mechanics, mods, and loot tables.
- Secure Environment: Manage whitelist/blacklist and reduce hackers or trolls.
- Community Building: Grow a loyal group of players with your shared rules and features.
- Performance Optimization: Allocate server resources based on your audience size.
What You Need Before Starting
Before setting up your DayZ server, gather the following prerequisites:
- Hardware: A dedicated server or a powerful PC with at least 8GB RAM and a multi-core CPU. SSD storage is recommended for faster load times.
- Operating System: Windows Server 2016/2019 or Linux (Ubuntu 20.04+ recommended).
- Stable Internet Connection: Minimum 10 Mbps upload speed for hosting 20+ players.
- Steam Account: Required to download DayZ server files via SteamCMD.
- Basic Knowledge: Familiarity with command line, file editing, and port forwarding.
Step-by-Step DayZ Server Setup Guide
Step 1: Download & Install SteamCMD
SteamCMD is a command-line utility required to download and update DayZ server files.
- Download SteamCMD from the official Valve website.
- Extract the contents to a dedicated folder on your server or PC.
- Run
steamcmd.exeto initialize the tool.
Step 2: Install the DayZ Server Files
Use SteamCMD to download the DayZ server files:
login anonymous

force_install_dir C:DayZServer

app_update 2233500 validate

exit
Replace C:DayZServer with your desired directory.
Step 3: Configure Server Settings
Navigate to DayZServerserverDZ.cfg or create one if it doesn’t exist. This file controls your server’s basic settings.
hostname = "My Custom DayZ Server";– Your server name.maxPlayers = 60;– Maximum number of players.password = "";– Leave empty for public servers or add a password for private access.disableVoN = 0;– Enable/disable Voice over Network.verifySignatures = 2;– Enable to reduce cheating by verifying game files.
Step 4: Set Up Port Forwarding
To allow external players to join, forward the following ports on your router:
| Port Number | Protocol | Purpose |
|---|---|---|
| 2302-2305 | UDP | DayZ game communication ports |
| 8080 | TCP | RCon remote control (optional) |
Consult your router’s manual for port forwarding instructions.
Step 5: Launch the Server
Create a batch file (Windows) or shell script (Linux) to start the server:
start DayZServer_x64.exe -config=serverDZ.cfg -port=2302 -cpuCount=4 -maxMem=8192 -maxPlayers=60Modify parameters such as cpuCount and maxMem based on your server hardware.
Additional Tips for Hosting a Stable DayZ Server
- Back Up Regularly: Make backups of your server files and database to prevent data loss.
- Use RCon Admin Tools: Remote control software helps you manage the server in real-time.
- Optimize Server Performance: Adjust tick rates and memory settings for smoother gameplay.
- Monitor Logs: Check server logs for errors or player abuse.
- Add Mods Carefully: Ensure all players install the same mods to avoid conflicts.
Case Study: My First DayZ Server Setup Experience
When I first set up a DayZ server from scratch, I underestimated the importance of port forwarding and firewall configuration. Initially, no external connections could join. After researching and forwarding UDP ports 2302-2305 correctly, my server became accessible, and player count steadily increased. The key takeaway? Patience and attention to network setup are crucial.
Common Issues and How to Troubleshoot
| Issue | Cause | Solution |
|---|---|---|
| Server not visible in server browser | Ports not forwarded properly | Check port forwarding and firewall rules |
| Players experiencing lag | Insufficient server resources or high ping | Upgrade hardware or limit max players |
| Server crashes on startup | Corrupted config or outdated files | Validate game files and review config syntax |
Benefits of Running Your Own DayZ Server
Besides living the dream as a server admin, there are additional benefits you’ll appreciate:
- Community Control: Foster a positive environment by enforcing clear rules.
- Game Modding Flexibility: Experiment with custom mods and scripts.
- Monetization Opportunities: With the right setup, you can monetize through donations or perks.
Conclusion
Setting up a DayZ server from scratch may seem challenging initially, but with the right tools, patience, and step-by-step approach, you can build a vibrant gaming hub tailored to your community’s preferences. Follow the detailed instructions above, keep your server optimized, and engage with players to ensure long-term success. Happy surviving in DayZ!


